Living roof
Create your own small scale living roof
If you don’t have space for a garden, try a living roof! They’re a simple yet effective way to add biodiversity to your garden, reduce stormwater runoff and cool a structure . You can select plants to support pollinators (bees, butterflies and moths). This guide will take you through the steps to create your own living roof at home – whether for a dog kennel, shed, or carport/garage. The advice here is specific to Auckland conditions.
Before You Start
- Consult an engineer: Always check your roof’s load capacity for sheds and carports. Living Roof Review and Design Recommendations for Stormwater Management (Auckland Council, 2013) states thin (50-100 mm deep) living roofs weigh 70–170 kg/m² when saturated.
- Rule of thumb: If you can’t safely stand on the roof now, you can’t put a garden on it.
- Roof slope: Maximum 15°, ideally 1–5° (steep enough to drain, but not too steep that the substrate dries out quickly and may slide off without extra support)
- Installation: The structure should rest on top of the roof (avoid piercing waterproofing – no nails or screws).
- Access & safety: Make sure the roof allows safe installation and ongoing maintenance and work out how you would safely dismantle or renovate it (a trestle lets you construct or maintain without going on the roof).
Materials You’ll Need (and Why)
- Waterproofing Layer: Protects the building from leaks. Options: EPDM rubber, Thermoplastic Polyolefin (TPO), Polyurea or pool/pond liner . Seal with waterproof seal such as blackjack or similar.
- Water proof protection: Stops waterproofing layer from being punctured by gardeners and protects it from damage from vibration/rubbing. Can be synthetic meshes or wool carpet or insulation material (polystyrene was used but is not recommended).
- Drainage Layer: Ensures excess water drains away. Synthetic drainage mats (as used behind retaining walls) or rapidly draining pumice or gravels.
- Geotextile Separation Layer: Stops fine soil particles from clogging drainage while still letting water through. Made from nonwoven fabric and often already attached to a drainage sheet.
- Lightweight Substrate (≥60% pumice): Growing medium for plants. Porous, lightweight, low-organic (<20% v/v compost). Mixes with vermiculite/zeolite work well up to about 33% v/v. Low rates of low-strength fertilisers to avoid contaminating stormwater.
- Edging (Wooden Frames with Drainage Slots/Holes at the front edge, Nails): Contains the substrate and planting layers, while letting overflow drain. Use sealed/clad but untreated wood (e.g., eucalyptus or macrocarpa). Can also use gutters cut in half.
- Tools: Nails/screws and a hammer or screwdriver.
- Moisture Retention Layer (Optional): Stores extra water in dry periods. Can be mats or fabrics beneath the root zone.
- Biodegradable Weed Mat (Optional) or thin, inorganic light-weight mulch (waste shell, nuts): Reduces weeds and makes the roof lower maintenance. Reduces risk of wind and water erosion until plants cover the roof.

Step-by-Step Installation
- Prepare the Roof: Clear roof and check for structural stability and confirm slope ≤15°. Install temporary safety gear if required (rails, scaffolding, etc.) Measure roof area to calculate materials.
- Install Edging: Fit wooden frames around the perimeter and fix in place using tools. Add slots or perforations for overflow, can be one continuous slot along the bottom approximately 5cm in height or many perforations.
- Install the Waterproofing Layer: Lay synthetic membrane, overlap edges and seal edges with blackjack or similar. Inspect roof for punctures.
- Add the Waterproof protection: Roll out on top of waterproofing and fold CAREFULLY cut neatly around edges, vents, pipes, making sure there are no gaps.
- Install the Drainage Layer: Lay evenly over root barrier. Ensure water can flow toward drainage/overflow points. Bring the drainage layer to the surface along the lowest edge
- *Optional: Moisture Retention Layer: Lay absorbent mats or foams under the root zone.
- Lay the Geotextile Separation Layer: Place fabric on drainage layer and overlap seams slightly. Keep flat and wrinkle-free.
- Add the Substrate: Spread evenly to 80–150 mm depth (depending on structure). Mix pumice, vermiculite, zeolite for aeration and drainage. Avoid fertilisers. Top tip, plant then lift. DO NOT WATER the tray until it is on the roof!
- *Optional: Biodegradable Weed Mat or thin mulch: Place on top of substrate or moisture layer.
How to Personalise
Living roofs can be adapted to suit your needs, budget, and creativity.
- Size & Structure: Planter trays should be at least 50 × 50 cm, but experiment with dimensions. It is best to have trays the full depth of a roof (not width) for larger roofs so water can flow easily from the roof. A living roof can sit on anything from a dog kennel to a chicken shed to a carport or container.
- Creative Materials: Keep costs down by reusing what you have. Your drainage layer could use macadamia shells, pumice, or even kitty litter that is made from zeolite.
- Plant Choice: The best way to make it your own. Decide if you want a functional (edible), aesthetic (flowering), or native (biodiversity) roof. Pick hardy species that are low-growing (no more than 100-200 mm height), shallow-rooted, self-seeding, and tolerant of wind and drought.
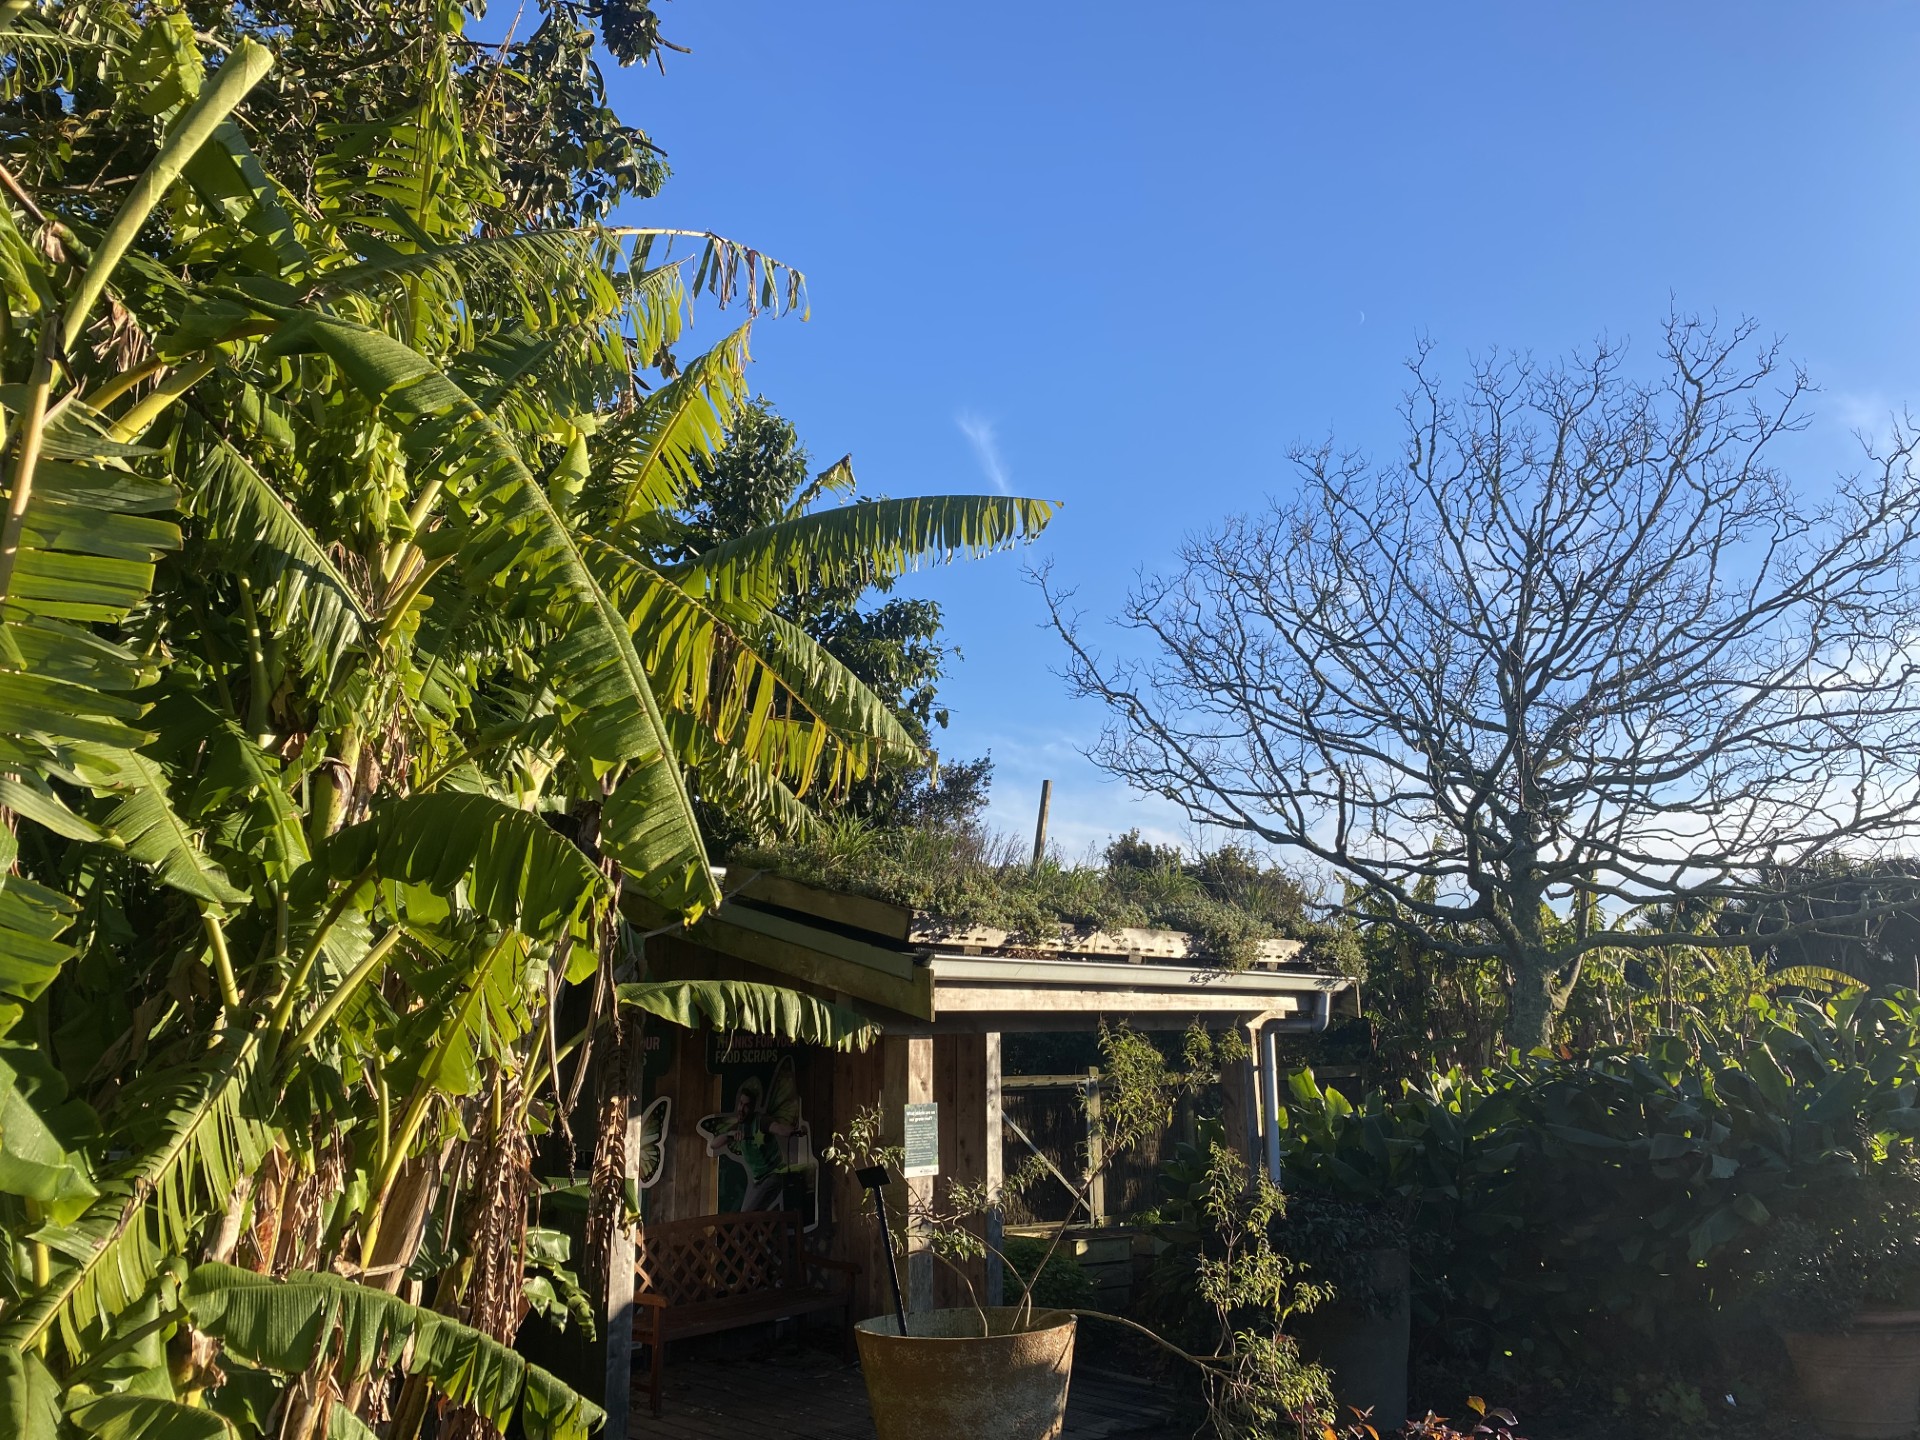
Check out the Auckland Botanic Gardens’ living roof trials for plant recommendations.