Create your own compost

Making compost is a productive method of converting your vegetable and garden waste into something useful. It also cuts down on your amount of household rubbish going to landfill. Compost is decomposed organic matter which conditions and nourishes soil by returning nutrients, helps with moisture retention and encourages an abundance of life in the soil, including worm activity.  The result is healthy plants that perform well. 

The science: Composting occurs when organic materials such as foliage and woody materials combine with water and oxygen. The decomposition process results from the activities of a complex microbial community which includes bacteria, fungi, yeasts, algae, protozoa and enzymes.

Ingredients
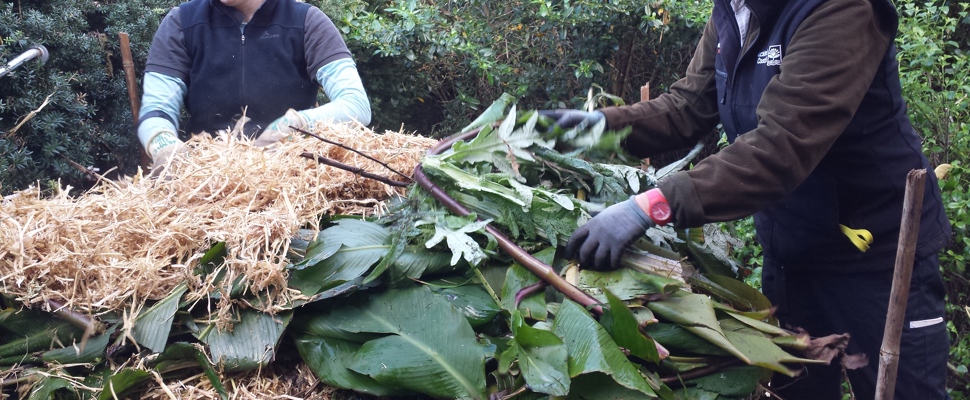
Generally, a healthy compost has a good balance of nitrogen-rich green material such as grass clippings and carbon-rich brown material such as wood chips and cardboard. It is advisable to avoid meat products and dog droppings. When working with compost, it is essential to keep cuts covered, wear gloves, wear a dust mask if the compost is dusty, and wash your hands when done.

Compost ingredients:
Greens
  • Soft green prunings, grass clippings
  • Green weeds (avoid those with seeds, perennial weeds and pest weeds)
  • Seaweed
  • Animal manure (from herbivores)
  • Vegetable kitchen waste
Browns
  • Woody prunings and shavings
  • Cardboard and newspaper
  • Bedding from herbivore pets (e.g. straw, hay)
  • Fallen leaves

Other good stuff from the home

 
  • Hair and nail clippings
  • 100% natural fibres, e.g. wool, cotton, bamboo, hemp
  • Crushed egg shells
  • Tea bags and coffee grinds
Where and how to compost

A heap in the corner of the garden will eventually turn to compost, but it will be quicker and tidier when made in a compost bin.

  • Situate your compost bin in a sunny or semi-shaded position directly on the soil (to encourage earthworms and other beneficial organisms up into the heap).
  • The ideal bin should have some ventilation in the sides that does not allow material to fall out, and it should allow ready access for turning the compost. It should have some removable cover.
  • When starting, put a few woody plant stems and twigs at the bottom to help with air circulation and drainage.
  • Progressively add roughly equal layers of green material and dry brown material.  Woody material should be shredded or chopped to speed decomposition.
  • Keep the compost covered but to keep the compost moist occasionally allow rain in or add water.  Compost should be moist when squeezed but not wet enough to exude drops.
  • Occasionally turning the compost heap will accelerate decomposition. If you do not have time for this, make sure there are plenty of worms in the compost, and they will do the job for you. If you have a worm farm, occasionally transfer a shovelful of worms to your compost heap.
  • Occasional applications of lime benefit worms and microbes that break down the compost and help to keep it from becoming too smelly.
  • It’s a good idea to have a two compost bin and alternate. When one is full, start the second bin and leave the first until the compost is ready to use.
  • Compost is ready when the material is brown, crumbly and earthy-smelling (this can take up to a year).
  • Dig the compost through the garden soil with a garden fork. Do not bury it too deep - plant feeder roots are usually close to the surface of the soil.
  • If you find anything not fully decomposed (such as woody branches) place it in the second compost bin to continue the decomposition process.
  • A great time to use compost is before making seasonal plantings of annuals and vegetables in late spring and early autumn. It is also beneficial to work in compost before planting trees, shrubs, perennials or other plants that enjoy soils rich in humus and nutrients.
  • Enjoy and admire plants next season that glow with health!